Saturday, November 21, 2015

Fall roma tomato harvest

Fall roma tomato harvest. There was a plethora of disease and pests ate some of the tomatoes, and I had to prune prune prune ands dispose of diseased foliage constantly. However, this is the mass harvest of the healthy fruits so can't complain!


After disease-pruning and harvest:

Thursday, April 30, 2015

Happy plants

A few shots of the tomato/cabbage garden. I've been reading a bunch of books ands taking gardening classes and I think I'm doing better this year because a) we converted the beds to drip irrigation. No more soggy leaves which promotes fungal diseases, b) I prune off any leaves starting to show disease (ie: leaves with brown, tan or black spots, leaves that are curling, "crispy" leaves, leaves that are full of holes), c) I walk the garden AT LEAST every other day. I look UNDER the leaves and I hand remove pests, d) I sanitize the pruners with rubbing alcohol after pruning each plant, e) any diseased or pest-eaten leaves are taken out of the yard and placed into the regular trash (before I would just let them sit on the soil thinking, eh, they'll decay and turn into nutrients eventually. This was bad because I learned in my books that these leaves contain fungal spores which will spread to the rest of your plant(s) if not disposed of.) Sometimes I just go out there with a grocery bag to place these leaves in until I can get to the trash. E) I built a pollinator-friendly space to attract more bees, butterflies, and moths. As a result I have better pollination and production on my plants, f) I use "trench composting" right in the garden beds (tip from U of FL: add a handful of fertilizer so the breakdown process does not rob the soil of nitrogen), g) I mixed a homemade baking soda spray that I use on occasion to fight off fungus. I know this sounds like a lot of work but tomatoes have been proven to be the most disease- and pest-prone plants in FL. Plus, I find this whole process to be therapeutic. I like to be surrounded with happy plantlife! 


Did I mention I started all of my plants from seed? TLC from the start of their life journey with seedling heat mat and grow lights.... man, did they get pampered!

I recently planted beans and squash (direct sow) and they've just begun to sprout next to the new & improved trellis (wire fencing added to the wood grid.)

Amaryllis blooms!


Saturday, April 18, 2015

Hello rainy season

I realize I haven't posted in a good bit. I put plants out in early March and here are some recent pics of them.

Pots - peppers, eggplant, and plumeria


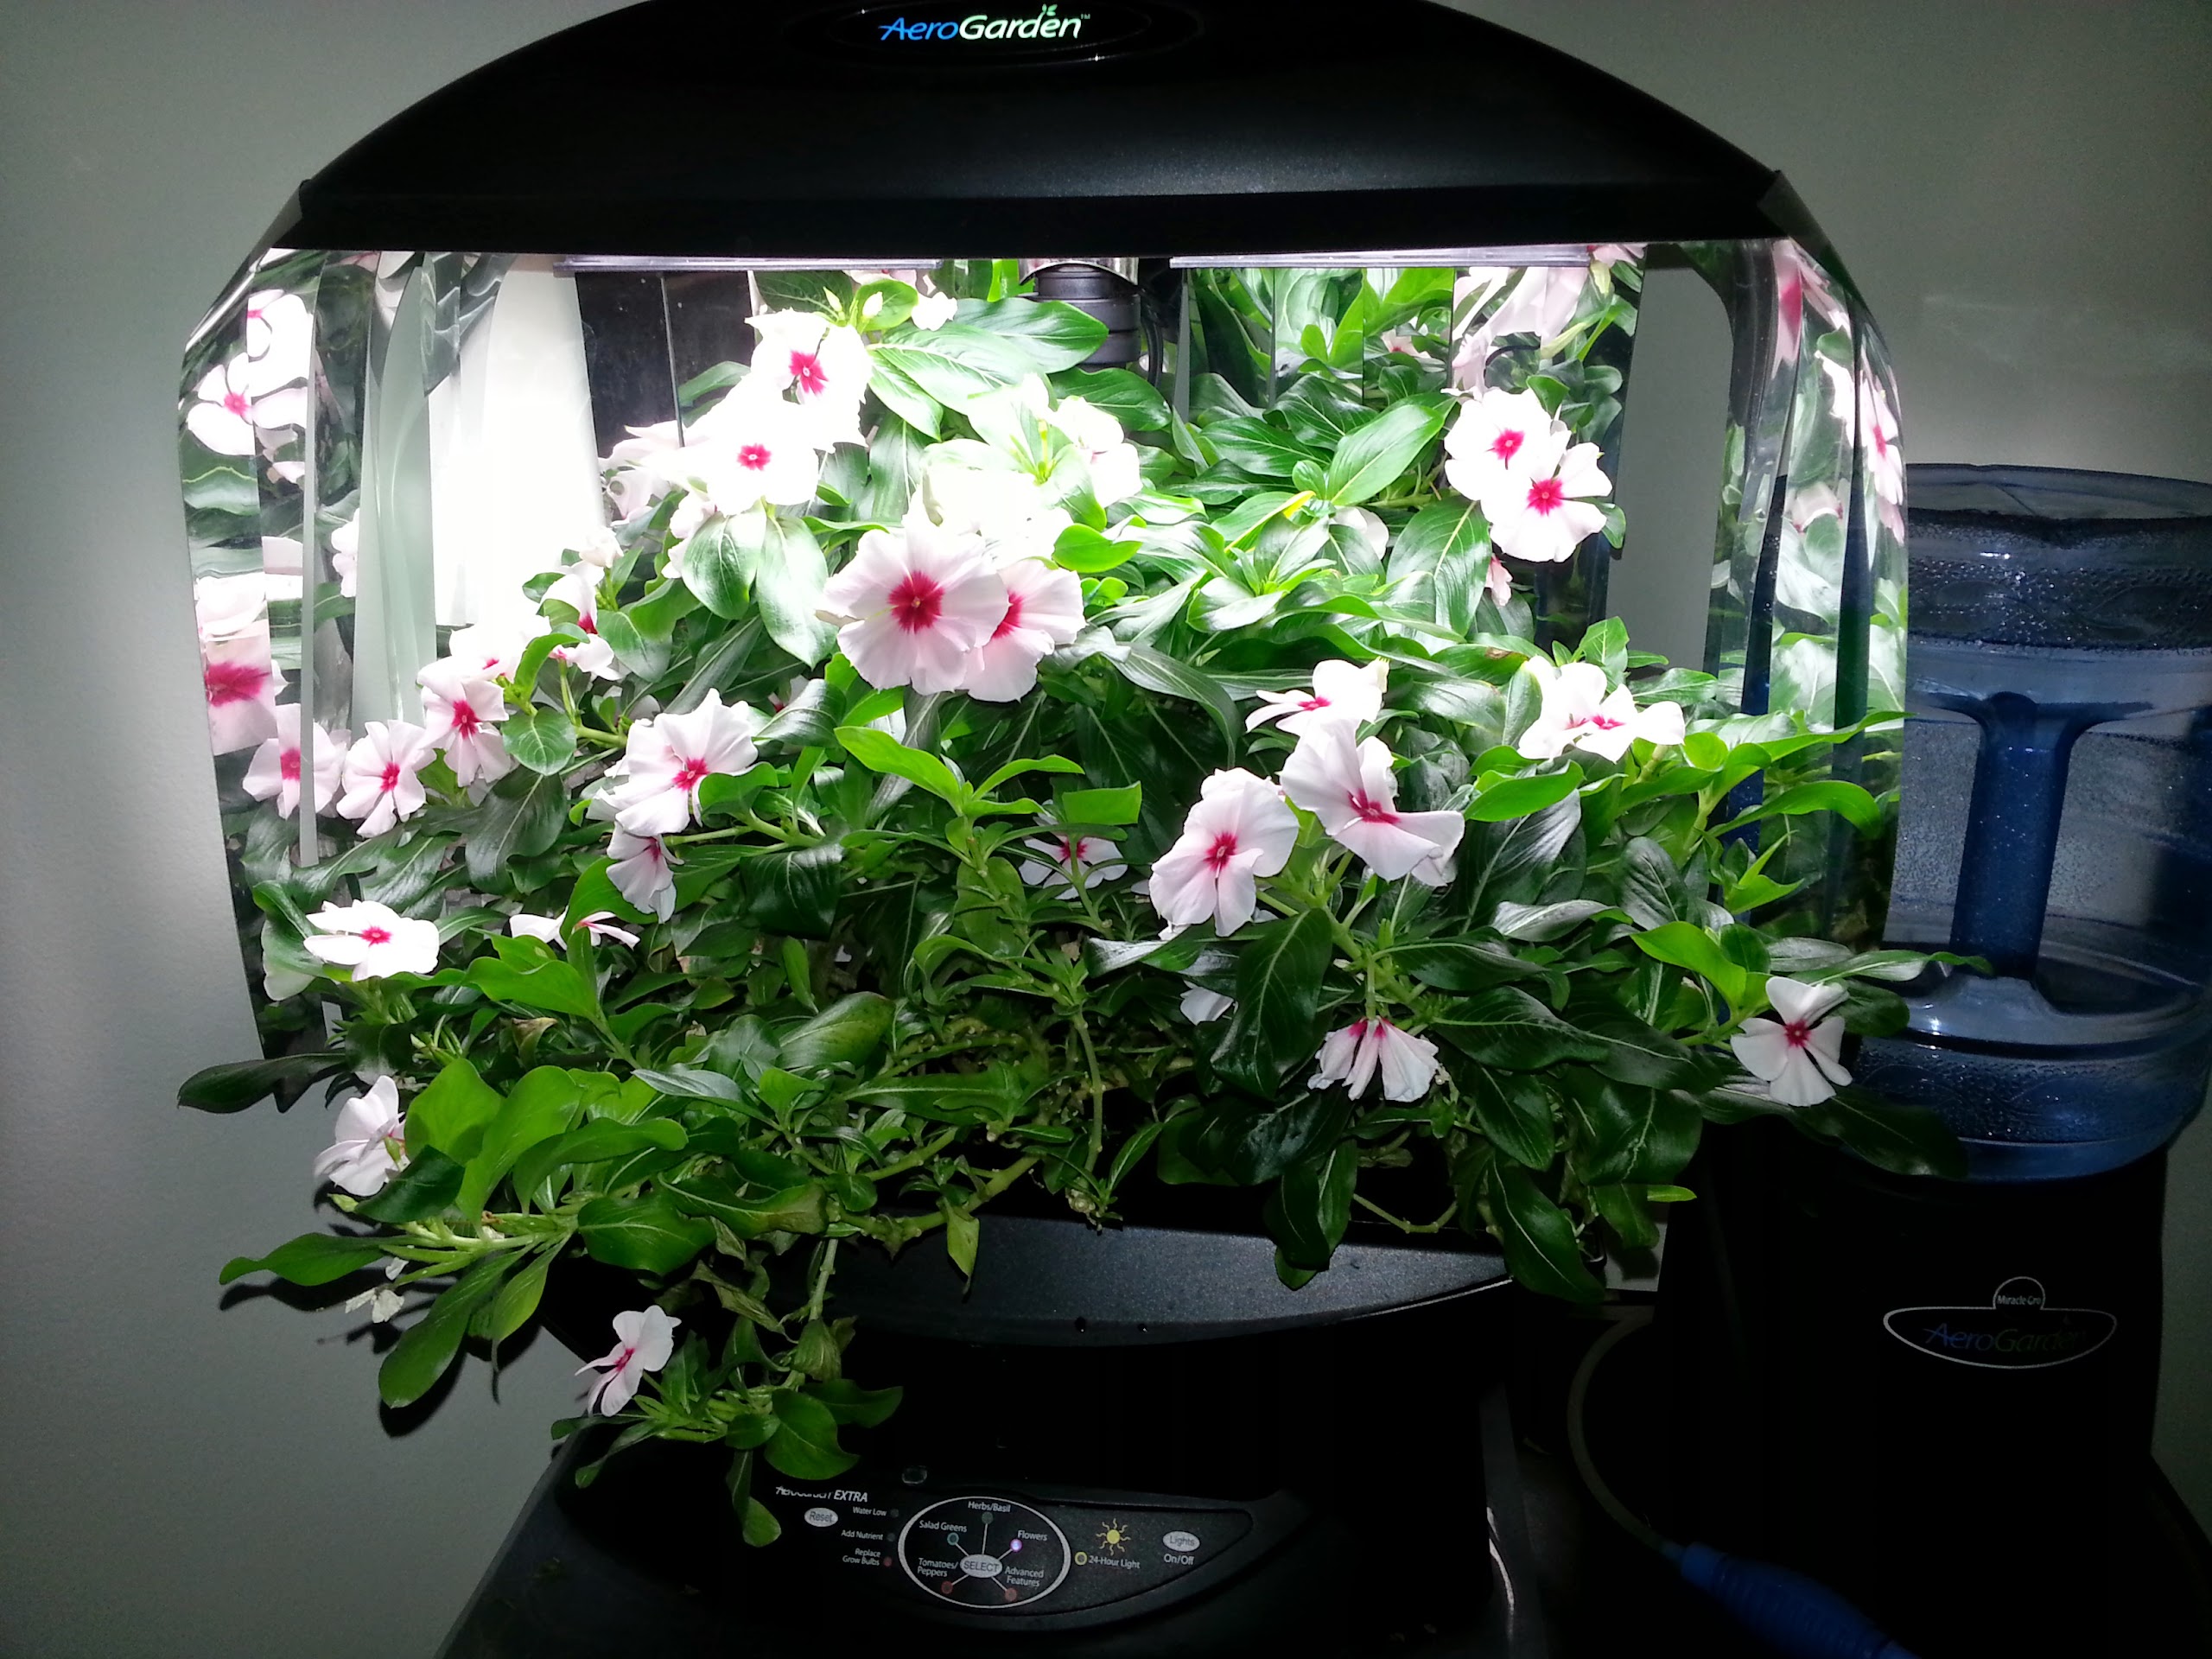
Plants bought from the Garden Fair!

Bush honeysuckle - attracts butterflies


Duranta - attracts bees


Wild coffee - a Florida native plant
(No, you can't actually make coffee from it. Certain times a year it has berries. Other times, small white flowers)


The tomato/cabbage bed - whoa!
Had a small challenge (very small) with fungus but pruned the bottom affected leaves and I apply baking soda spray treatments. Now all is very well.


Mom got these for me for Christmas :)


Out front:

New, favorite hanging basket "Creeping Jew" - a gorgeous plant


Entrance bed:


Plumbagos are in bloom!


Started a few Japanese plum trees (robbed Japanese plums off of a neighbor's tree, shhhh..)


Overcoming challenges:

These bougainvillea and avocado were really hurt by the one 35 degree night we had in Feb. I pruned them way back and they are producing new foliage now:


I scrapped 2 eggplants after diagnosing them with my "What's Wrong With My Plant? (And How Do I Fix It?)" book. The issue turned out to be botrytis (aka gray mold). I scrapped them to prevent the disease from spreading to my other plants. I dont think they would have lived anyway as the bases of the stems were affected. Then I scrubbed/sanitized the pots.


I've been picking these guys off the undersides of pepper and eggplant leaves. "Beet armyworm". Look carefully. They are very small and they match the leaves.


Most wonderful boyfriend installed drip irrigation in the beds! We have also started to install microsprayers in the pots. These projects are not quite finished yet (pics later).

I have been taking and signing up for lots of gardening classes. I took:
Edible Florida
Bringing the Buzz Back
Landscape design principles for Florida
Rainbarrel and composting
(All free)

The county gave me a free rainbarrel, and with any luck I can find someone to paint it for me ;)

Here's pics of the Univ of FL hydroponics setups:


The next workshops I'm taking are Roses for FL and Creating Hypertufa Planters. It should be fun!
posted from Bloggeroid

I've also read 4 gardening books and plan to buy more!

Month by month gardening in Florida
Organic methods for vegetable gardening in Florida
What's wrong with my plant? (And how do I fix it?)
Garden planning & Garden design

Next will either be a hydroponics book or a square foot gardening book. Or vertical gardening! I can't decide! :)

Tuesday, March 3, 2015

Dollar Tree Finds

I went into Dollar Tree seeking out a few things for gardening. First, I wanted some little buckets (these were considered Easter buckets but how appropriate for gardening).

Aren't they cute?

1 for weed pulling or veggie harvesting,


And 1 for the stuff I usually carry around (and misplace in the yard)


And as you can see I scored some new gloves. I had been wearing mismatched and worn out gloves for awhile (if I even wear gloves) - they all had holes in them and stuff, and a fingertip or two would always poke out. I got three pairs this time, all the same color, at $1 per pair (all the same color so if I lose one or I rip one, I can just swap it out).

And THEN these little stepping stones, to dress up the flower garden(s).


Can't wait to get plantin!

I did transplant the vinca today from the Aerogarden to the little driveway bed. She was huge and it was hard getting all those roots out of the Aerogarden. Then I went to work. I checked on her when I came home and she seems happy. :)

posted from Bloggeroid

Sunday, March 1, 2015

Vincas

Here is likely the last pic of the vincas in the Aerogarden before they get transplanted outside.


posted from Bloggeroid

Thursday, February 26, 2015

Heat Mat - What did I ever do without it?

The results of the seedling heat mat experiment were great! Although I also used a grow light as well this year and stayed away from the waterlogged, zero nutrient peat pellets. Here is a pic of the nursery right now (after I sent 6 tomato plants away to a good home for adoption).


I've been reading a lot of garden books. I'm on my 3rd book in 4 weeks! I tried something out of one of the books called "trench composting". Basically I keep a Tupperware on my kitchen counter and throw vegetable and egg scraps in it, as well as coffee grounds, until it gets full. I then go to the garden and dig a trench between the rows, about 6" or so.


I then put my scraps in (green material), then a layer of leaves (brown material) and cover it up with soil!


There are a bunch of ways to compost, but this one involves no equipment or unsightly compost pile, and no turning the heap or watching temperature, etc. With this method, by the time the young plants begin to grow deep roots, the compost will have rotted and those roots will find nice, rich soil. Plus it attracts worms. I am pretty sure this is the same method my grandfather used, although I didn't know it had an official name.

I bought some plants for the bees, and it was so surprising and heartwarming to find a bee on the new bush daisy the moment I took it out back to plant it. It was still in the pot, in the dump cart, and that bee found it while I was digging the hole. :)


The bee house is up again, this time in the proper season, and this is what it looks like.


This is what the START of the backyard bee garden looks like. More plants to be added...I will then lay weed cloth and mulch.


I've started prep on the front flower beds and will start filling them in in March, as we just had a frost which took a toll on some of my and my neighbors' plants.

Mushroom compost is my new best friend! It's so rich and full of nutrients. I am using it everywhere!

posted from Bloggeroid

Thursday, January 29, 2015

Plant reproducing

I kept seeing these on my Aerogarden grow deck.


I could not see anything on the plant that looked like this, so I thought they were mosquito eggs. I took the AG apart and I sanitized everything I could. I even treated the vincas with insecticidal soap.

The next day they were back. I cleaned them up. They came back again. And again.

I reached out to the Aerogardeners on Facebook and one woman said they are seeds.

I looked carefully and although well camouflaged, I found seed pods!

Fresh seed pods:


They dry out, then fall off the plant. The seeds fall through to the grow deck but the dry pods land on leaves, which is why the mystery.

Dried pod:


Inside of a pod. See the indentations?


This is so cool!

posted from Bloggeroid